How to Buy PONKE: Complete Guide for Beginners
The meme coin market has exploded over the past few years, and PONKE has emerged as one of the tokens catching serious attention from crypto traders and investors. Built on the Solana blockchain, PONKE combines the viral appeal of meme culture with the technical advantages of one of the fastest networks in crypto. But if you’re new to buying tokens outside the mainstream exchanges, the process can feel confusing, maybe even intimidating.
You’re probably wondering where to start, which platforms to trust, and how to avoid the common pitfalls that trip up first-time buyers. This guide walks you through everything you need to know about purchasing PONKE, from setting up the right wallet to executing your first trade. Whether you’re drawn to PONKE for its community, its potential upside, or simple curiosity about Solana-based meme coins, you’ll find the step-by-step instructions and practical advice you need right here.
Key Takeaways
- You need a Solana-compatible wallet like Phantom or Solflare and base currency (SOL or USDT) before you can buy PONKE.
- The easiest way to buy PONKE is through decentralized exchanges like Raydium or Jupiter by connecting your wallet and swapping SOL for PONKE tokens.
- Always verify PONKE’s official contract address before purchasing to avoid buying fake tokens that scammers create with similar names.
- Keep a small amount of SOL in your wallet after buying PONKE to cover future transaction fees, even though Solana fees are typically less than a cent.
- Store your wallet recovery phrase offline and never share it with anyone, as it provides complete access to all your funds.
- When learning how to buy PONKE, expect price volatility of 20-30% daily, which is normal for meme coins on the Solana blockchain.
What Is PONKE and Why Are Investors Interested?
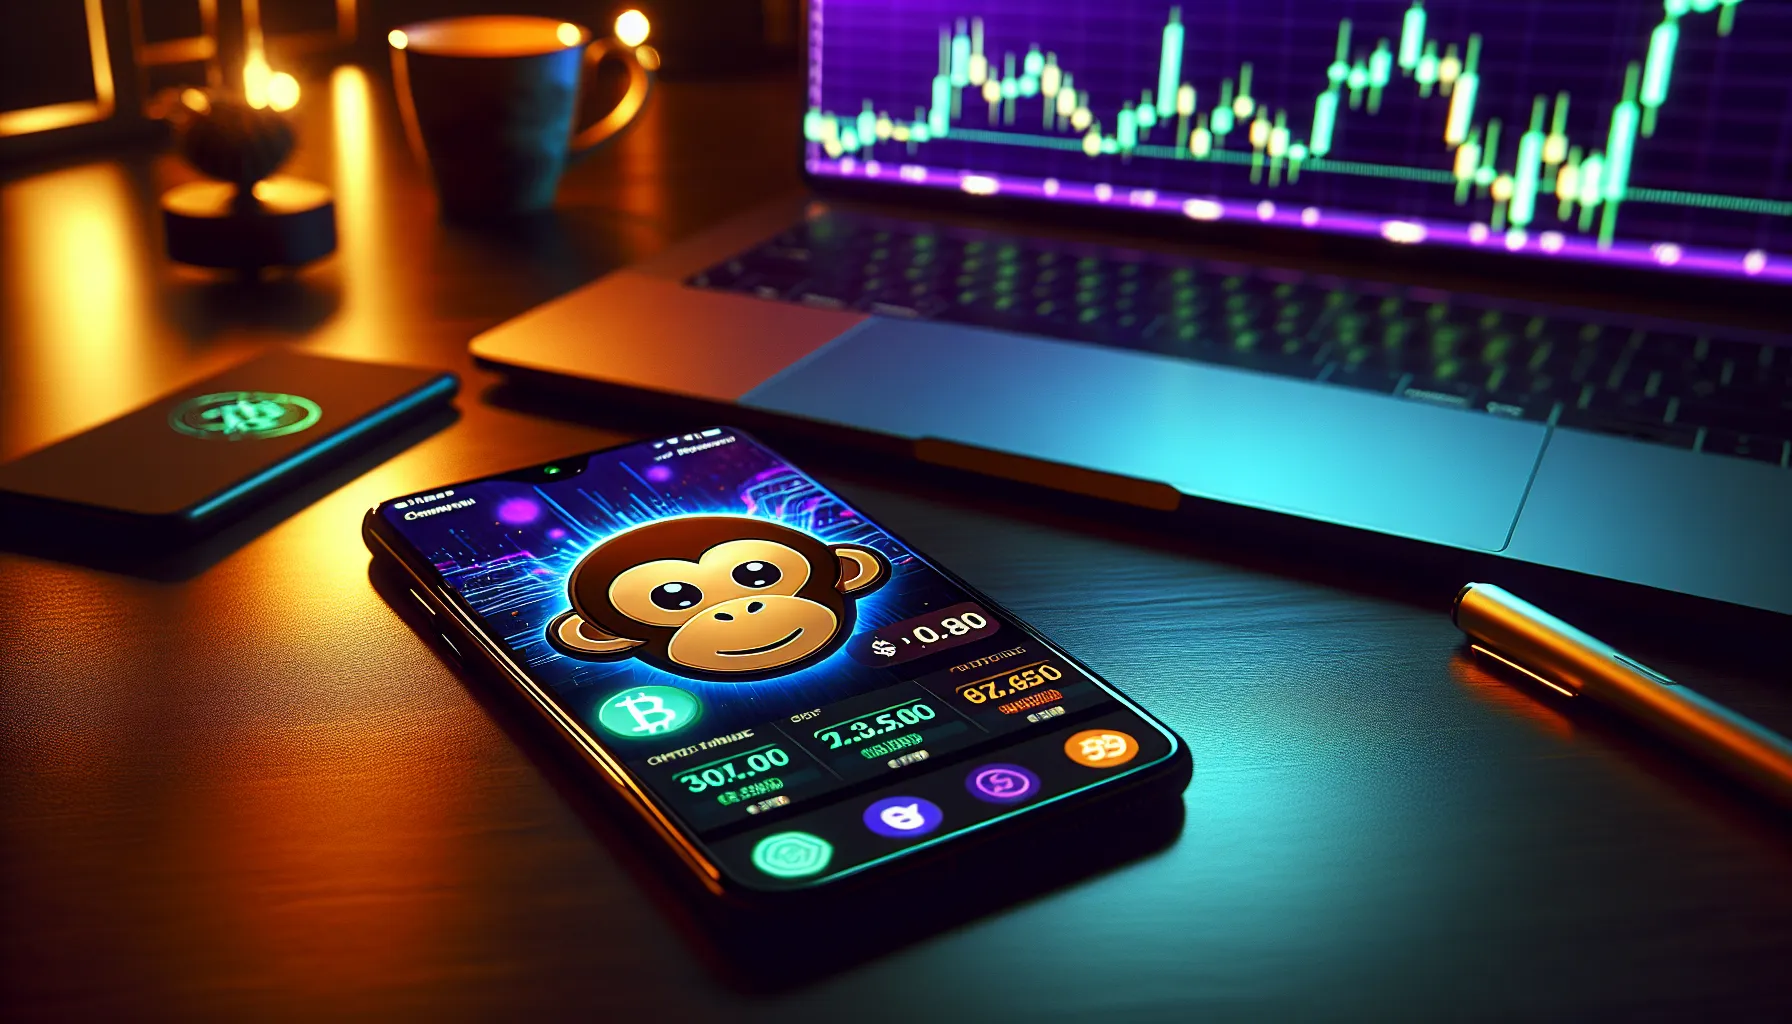
PONKE is a meme coin that lives on the Solana blockchain, featuring a monkey mascot that’s become recognizable across crypto social media. Like many meme tokens, PONKE started as a community-driven project without the formal backing of a traditional company or venture capital. What sets it apart is its focus on the Solana ecosystem, which offers significantly faster transaction speeds and lower fees compared to Ethereum-based tokens.
Investors have taken notice for several reasons. First, the Solana network’s efficiency makes PONKE accessible to traders who don’t want to pay high gas fees. Second, the token has built a dedicated community that actively promotes it across platforms like Twitter and Discord. Third, meme coins have historically produced outsized returns for early adopters, though they also carry substantial risk.
The token’s appeal isn’t purely speculative. PONKE represents a bet on Solana’s continued growth as a blockchain platform and on the staying power of meme-driven crypto projects. Some investors view it as a portfolio diversification play within the meme coin sector, while others are drawn to the active trading volume and liquidity that developed tokens on Solana enjoy.
That said, you should understand what you’re getting into. PONKE doesn’t claim to solve a technical problem or disrupt an industry. It’s a meme coin, which means its value derives largely from community sentiment, social media trends, and broader market conditions. The project’s transparency about this reality has actually earned it credibility among meme coin enthusiasts who appreciate straightforward messaging over inflated promises.
What You Need Before Buying PONKE
Before you can purchase PONKE, you’ll need to assemble a few essential tools. The process differs from buying Bitcoin or Ethereum on a standard exchange like Coinbase because PONKE trades primarily on decentralized platforms. Getting prepared takes maybe 30 minutes if you’re starting from scratch.
Setting Up a Compatible Crypto Wallet
Your first step is choosing and setting up a cryptocurrency wallet that works with the Solana blockchain. The wallet acts as your personal interface to the blockchain, it’s where you’ll store both your base currency and your PONKE tokens after purchase.
Phantom is the most popular choice for Solana tokens. It’s a browser extension wallet (similar to MetaMask for Ethereum) that’s intuitive even if you’ve never used a crypto wallet before. You can download it directly from the official Phantom website, and the setup process involves creating a password and, critically, writing down your recovery phrase. That recovery phrase is a series of 12 or 24 words that serves as the master key to your wallet. Store it somewhere secure and offline. If you lose it, you lose access to your funds permanently, and there’s no customer service team that can retrieve it for you.
Other solid wallet options include Solflare and Trust Wallet, both of which support Solana tokens. Solflare offers both a browser extension and a mobile app, making it flexible if you want to manage your holdings on the go. Trust Wallet is primarily mobile-focused and supports multiple blockchains, which is useful if you hold tokens across different networks.
Once your wallet is set up, you’ll see your public wallet address, a long string of characters that functions like an account number. You’ll use this address to receive tokens, including the base currency you’ll need for purchasing PONKE.
Acquiring Base Currency (SOL or USDT)
You can’t buy PONKE directly with US dollars or other fiat currencies on most platforms. Instead, you’ll need to purchase a base currency first, typically Solana (SOL) or Tether (USDT), which you’ll then swap for PONKE.
SOL is the native token of the Solana blockchain and the most straightforward option. You can buy SOL on virtually any major exchange, including Coinbase, Binance, Kraken, or Crypto.com. If you already have an account on one of these platforms, purchasing SOL is as simple as depositing funds and placing a buy order.
After purchasing SOL, you’ll need to withdraw it to your Solana wallet (like Phantom). On your exchange, navigate to the withdrawal section, select SOL, and paste your Solana wallet address. Double-check that address, sending crypto to the wrong address means losing it forever. Most exchanges process SOL withdrawals within a few minutes, though occasionally network congestion can cause delays.
USDT is another option, particularly if you prefer holding a stablecoin that doesn’t fluctuate in value while you prepare to make your purchase. Make sure you acquire USDT on the Solana network specifically (not Ethereum or another blockchain), or the withdrawal to your Solana wallet won’t work. Some exchanges let you select which network to use when withdrawing USDT.
A good starting amount depends on how much PONKE you want to buy, but factor in transaction fees. If you’re testing the waters, $100-$200 worth of SOL gives you enough to make a meaningful purchase while keeping some SOL in reserve for transaction fees, which on Solana typically run less than a penny but still need to be paid in SOL.
Step-by-Step Guide to Buying PONKE
With your wallet funded and ready, you’re prepared to execute your first PONKE purchase. The process varies slightly depending on whether you use a decentralized exchange or a centralized platform, but both approaches are manageable even if this is your first time buying a token outside the major exchanges.
Method 1: Buying PONKE Through Decentralized Exchanges
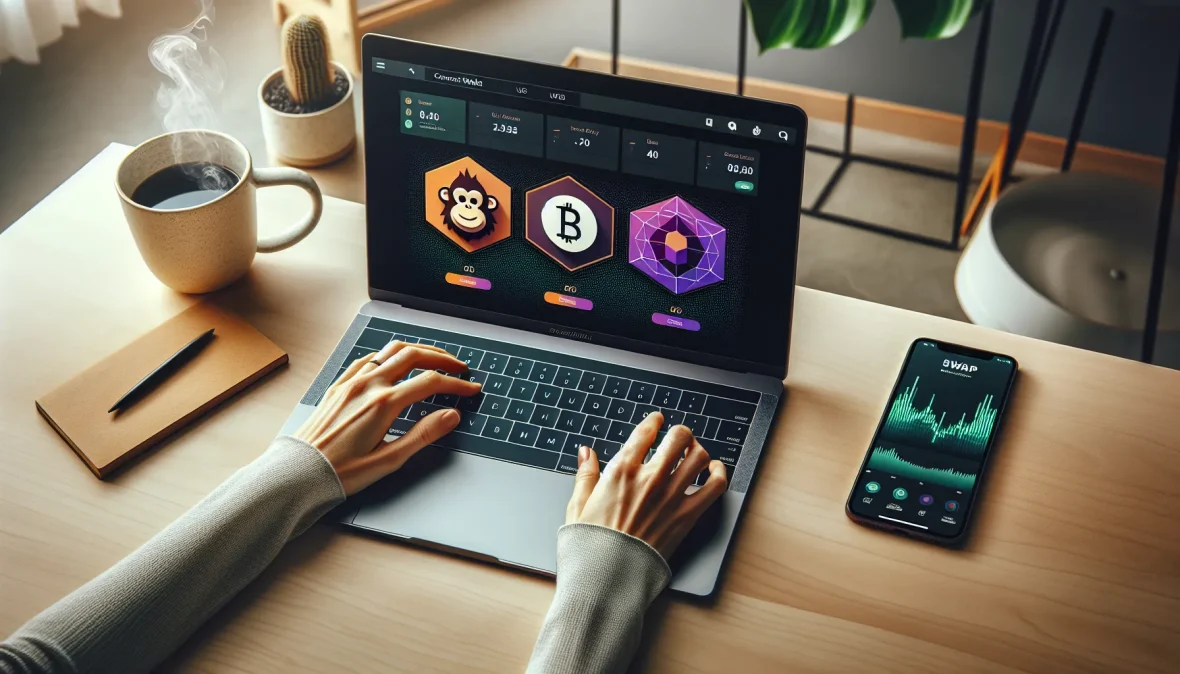
Decentralized exchanges (DEXs) are the primary venues for buying PONKE. These platforms let you swap tokens directly from your wallet without creating an account or going through identity verification. The most popular DEX for Solana tokens is Raydium, though Jupiter is another excellent option that often finds better prices by routing your trade across multiple liquidity pools.
Start by visiting the Raydium or Jupiter website. Make absolutely certain you’re on the legitimate site, bookmark it after your first visit to avoid phishing sites that mimic the real platform. Once there, you’ll see a “Connect Wallet” button, typically in the top right corner. Click it and select your wallet (Phantom, Solflare, etc.). A pop-up from your wallet will ask you to approve the connection. This doesn’t give the DEX access to your funds, it just allows the website to read your wallet balance and propose transactions that you’ll still need to approve.
After connecting, you’ll see the swap interface. In the “From” field, select SOL (or USDT, depending on what you purchased). In the “To” field, you need to add PONKE. If it doesn’t appear in the dropdown list, you’ll need to paste PONKE’s contract address. You can find the official contract address on PONKE’s website or verified social media channels. Pasting the contract address ensures you’re buying the real PONKE token and not a fake version, yes, scammers create counterfeit tokens with similar names.
Enter the amount of SOL you want to swap for PONKE. The DEX will automatically calculate how much PONKE you’ll receive based on current prices and liquidity. You’ll also see an estimated price impact and slippage tolerance. Slippage is how much the price can change between when you submit the transaction and when it executes. For PONKE, setting slippage to 2-3% usually works, though during high volatility you might need to increase it to 5%.
When you’re satisfied with the amounts, click the swap button. Your wallet will pop up asking you to approve the transaction. Review the details one more time, particularly the amount of PONKE you’re receiving and the transaction fee. Then confirm. The transaction typically processes within seconds on Solana. Once complete, you’ll see your PONKE balance appear in your wallet. If it doesn’t show up immediately in your wallet interface, you may need to manually add the token by pasting its contract address into your wallet’s token list.
Method 2: Buying PONKE on Centralized Exchanges
As PONKE has gained traction, some centralized exchanges have begun listing it. Centralized exchanges offer a more familiar experience if you’re used to traditional trading platforms, you create an account, deposit funds, and place buy orders just like you would for stocks.
The availability of PONKE on centralized exchanges changes over time as platforms add and remove tokens. Check exchanges like MEXC, Gate.io, or other platforms known for listing emerging tokens. If PONKE is listed, you’ll typically find it paired with USDT or sometimes directly with USD.
To buy on a centralized exchange, create an account and complete whatever identity verification the platform requires. This usually involves providing a government ID and proof of address. Once verified, deposit either cryptocurrency (like USDT) or fiat currency, depending on what the exchange accepts.
Navigate to the PONKE trading pair (for example, PONKE/USDT). You can place either a market order, which buys immediately at the current price, or a limit order, where you specify the price you’re willing to pay and wait for the market to reach it. Market orders are simpler but sometimes result in slightly worse prices during volatile periods. After your order fills, your PONKE will appear in your exchange wallet.
One significant consideration: leaving your tokens on a centralized exchange means trusting that platform with your assets. While major exchanges carry out strong security measures, they’re also targets for hackers, and you don’t control the private keys to your holdings. For long-term storage, transferring your PONKE to your personal wallet is generally safer, though it does incur a small withdrawal fee.
Best Platforms and Exchanges for Purchasing PONKE
Choosing where to buy PONKE affects not just your immediate experience but also the fees you’ll pay and the security of your transaction. Different platforms suit different needs and experience levels.
Raydium stands out as the go-to decentralized exchange for Solana tokens. It’s where PONKE first gained significant trading volume, and it typically offers deep liquidity for the token. The interface is clean, the transaction speeds are fast, and the fees are minimal. If you’re comfortable with the idea of connecting your wallet directly to a platform, Raydium is hard to beat.
Jupiter deserves special mention because it’s actually a DEX aggregator rather than a single exchange. When you enter a trade on Jupiter, it searches across multiple Solana DEXs to find you the best possible price. For larger purchases, Jupiter often secures noticeably better rates than going directly to a single DEX. The platform has also invested heavily in user experience, making it approachable even for relative beginners.
For centralized options, MEXC has established itself as one of the faster platforms to list emerging tokens like PONKE. The exchange operates in numerous countries and offers a reasonably straightforward onboarding process. Trading fees are competitive, and the platform provides more familiar order types if you’re transitioning from traditional stock trading. Gate.io represents another centralized option with a long history in the crypto space and a reputation for listing a wide variety of tokens.
If you prioritize simplicity above all else, you might look into wallet applications with built-in swap features. Phantom wallet, for instance, has integrated Jupiter’s aggregator directly into its interface. This means you can buy PONKE without ever visiting an external website, you execute the entire transaction from within your wallet app. The convenience comes with slightly less transparency about exactly where your trade is being routed, but for smaller purchases the difference is negligible.
Your choice eventually depends on your priorities. Need the absolute best price for a large purchase? Use Jupiter. Want the most liquidity? Raydium. Prefer a traditional exchange interface with order books and charts? Try MEXC or Gate.io. Looking for maximum simplicity? The built-in swap function in your Phantom wallet might be all you need.
Whichever platform you choose, verify you’re on the correct website before connecting your wallet or entering any login credentials. Bookmark the legitimate URL after your first visit. Phishing sites that impersonate popular DEXs and exchanges are unfortunately common, and connecting your wallet to a malicious site can result in drained funds.
Storing Your PONKE Safely After Purchase
Once you own PONKE, how you store it matters as much as how you bought it. The crypto space is filled with stories of people losing substantial holdings to hacks, scams, or simple mistakes. Taking storage seriously from day one protects your investment.
If you purchased PONKE through a DEX, your tokens are already in your personal wallet, Phantom, Solflare, or whichever you set up initially. This is actually the safest place for them, assuming you’ve secured your recovery phrase properly. Your wallet gives you complete control over your tokens. No exchange can freeze your account, impose withdrawal limits, or get hacked and lose your funds. The tradeoff is that you bear full responsibility for security.
That recovery phrase (also called a seed phrase) is the single most important security element. Anyone who obtains your recovery phrase can access your wallet from any device and transfer out all your holdings. Never store it digitally, not in a photo on your phone, not in a cloud storage service, not in an email to yourself. Write it on paper and keep that paper somewhere secure. Some people use fireproof safes. Others split the phrase and store the pieces in separate locations. But you approach it, treat that phrase with the same caution you’d use for a stack of cash.
For smaller holdings that you might trade frequently, keeping PONKE in a hot wallet (one connected to the internet, like Phantom) makes sense. The convenience of quick access to DEXs and trading platforms justifies the marginally higher risk. But if you’re holding a substantial amount long-term, consider a hardware wallet.
Hardware wallets like Ledger or Trezor store your private keys on a physical device that never connects directly to the internet. You can still interact with DEXs and manage your tokens, but the signing of transactions happens on the hardware device itself. This arrangement means that even if your computer is compromised by malware, your tokens remain secure because the private keys never leave the hardware wallet. Setting up a hardware wallet for Solana tokens requires a bit more technical knowledge than using Phantom, but the security improvement is substantial for serious holdings.
One more consideration: regularly verify that your wallet is showing the correct PONKE balance. Occasionally glitches in wallet interfaces cause tokens not to display, which can create unnecessary panic. If your PONKE doesn’t appear, you can always verify your holdings by checking your wallet address on a Solana blockchain explorer like Solscan. Just paste your public wallet address into the explorer, and it will show you every token you hold, including PONKE.
Avoid sharing your wallet address carelessly on social media or public forums. While your public address doesn’t give anyone access to your funds, it does allow anyone to see exactly what tokens you hold and in what quantities. This information can make you a target for scammers who craft personalized phishing attempts or social engineering attacks.
Common Mistakes to Avoid When Buying PONKE
First-time buyers of tokens like PONKE often stumble over the same handful of mistakes. Learning from others’ errors is cheaper than learning from your own.
The most expensive mistake is buying a fake token. Scammers regularly create counterfeit versions of popular tokens with names identical or nearly identical to the real thing. If you search for PONKE in a DEX and select the wrong token from the dropdown, you’ll swap your SOL for a worthless imposter. Always verify the contract address against the official source, PONKE’s website or verified social media accounts. Legitimate projects make their contract addresses easy to find because they know this verification step protects buyers.
Another common error is inadequate slippage settings. When you try to buy PONKE and the transaction fails repeatedly, the problem is often that your slippage tolerance is too low. Meme coins can be volatile, and prices can shift in the seconds between when you submit a transaction and when it processes. Setting slippage too low means your transaction will revert if the price moves even slightly. But setting it too high exposes you to front-running bots that can manipulate prices to their advantage. For PONKE, 2-3% slippage handles most situations, but during particularly active trading you might need 5%.
Running out of SOL for transaction fees catches many new Solana users by surprise. Even though Solana fees are typically fractions of a cent, you still need to pay them in SOL. If you swap all your SOL for PONKE and leave yourself with zero SOL, you won’t be able to make another transaction, including selling your PONKE later. Always keep a small amount of SOL in your wallet, even if it’s just $5 or $10 worth.
Falling for social media scams ranks high on the list of avoidable mistakes. You’ll encounter fake giveaways, phishing links disguised as official announcements, and impersonator accounts claiming to be PONKE team members offering “support.” The real PONKE team will never direct message you asking for your recovery phrase, and they won’t ask you to send tokens to an address to “verify” your wallet or claim a prize. If something sounds too good to be true, double your PONKE in 24 hours., it definitely is.
Buying without understanding transaction fees and price impact is another frequent error, especially with larger purchases. When you buy a significant amount of PONKE relative to the available liquidity, your purchase itself pushes the price up. This price impact means you receive fewer tokens than the initial quote suggested. DEXs show you estimated price impact before you confirm the swap, pay attention to it. If the impact exceeds 1-2%, you might consider breaking your purchase into smaller trades or checking if another DEX offers better liquidity.
Finally, panic selling during normal volatility causes more losses than actual project failures. Meme coins like PONKE can easily swing 20-30% in a day. If you buy PONKE and check the price obsessively, you’ll almost certainly see your holdings down at some point, maybe significantly. This doesn’t necessarily mean anything is wrong. It’s the nature of volatile assets. Decide your strategy before you buy, and try not to make emotional decisions based on short-term price movements unless something fundamental about the project has changed.
Understanding Fees and Transaction Costs
When you buy PONKE, you’ll encounter several types of fees, and understanding them helps you calculate your true cost and make smarter decisions about trade timing and size.
Solana network fees are remarkably low compared to other blockchains. A typical transaction costs around $0.00025, yes, a fraction of a cent. This low cost is one of Solana’s major advantages and why tokens like PONKE attract traders who might be priced out of Ethereum-based alternatives where a single transaction can cost $10, $50, or even more during network congestion. You pay these network fees in SOL, which your wallet deducts automatically when you approve a transaction.
DEX trading fees vary by platform but typically range from 0.25% to 1% of your trade value. Raydium, for example, charges approximately 0.25% that goes to liquidity providers, the people who deposit tokens into pools that make trading possible. Jupiter doesn’t add fees beyond what the underlying DEXs charge, which is why it often provides the best overall price. These fees are built into the price you see when you preview a swap, so the amount of PONKE displayed is what you’ll actually receive.
Price impact becomes significant with larger trades. If the available liquidity for PONKE is, say, $500,000 in a trading pair, and you try to buy $50,000 worth in one transaction, you’ll push the price up as your order executes. The DEX will show you this price impact as a percentage before you confirm. For small purchases relative to liquidity, price impact is negligible, often under 0.1%. But for larger trades, it can add several percentage points to your effective cost. This is why major buyers often split purchases across multiple transactions or multiple DEXs.
Centralized exchange fees operate differently. Most platforms charge a maker fee (when you place a limit order that sits on the order book) and a taker fee (when you place a market order that executes immediately against existing orders). These fees typically range from 0.1% to 0.5% depending on your trading volume and account level. Some exchanges offer reduced fees if you hold their native token or achieve certain monthly trading volumes. Withdrawal fees also apply when you transfer PONKE from the exchange to your personal wallet, and these vary widely by platform, anywhere from a fixed small amount to a percentage of your withdrawal.
When buying SOL or USDT on a centralized exchange to use as base currency, you’ll encounter additional fees. Depositing fiat currency often incurs a fee, typically 1-4% for credit card deposits or lower for bank transfers. Then you pay the trading fee when buying SOL. Finally, withdrawing SOL to your Solana wallet costs another small fee. These stacked fees can add up, so calculate your total cost path before choosing a route.
One often-overlooked cost is the spread between buy and sell prices, particularly on centralized exchanges. If you check the order book, you’ll notice the lowest sell offer (ask) is higher than the highest buy offer (bid). This gap is the spread, and it represents an immediate loss if you buy and then sell right back. On liquid trading pairs, spreads are tight, maybe 0.1% or less. On less liquid pairs, spreads can reach 1-2% or more.
Timing your purchases can affect costs more than you might expect. During periods of extreme volatility or high trading volume, you might experience higher slippage, larger spreads, or even failed transactions that cost you gas fees without completing the trade. If your purchase isn’t time-sensitive, executing during relatively calm market periods often results in better pricing and smoother transactions.
Conclusion
Buying PONKE involves more steps than purchasing mainstream cryptocurrencies, but each step is manageable once you understand the process. You’ve learned how to set up a Solana wallet, acquire the base currency you need, execute trades on both decentralized and centralized platforms, and store your tokens securely afterward.
The technical aspects, connecting wallets, verifying contract addresses, setting slippage, might feel awkward the first time through. That’s normal. Your second purchase will go much faster, and soon the process becomes routine. What matters most is approaching each step carefully and never rushing, especially when verifying addresses or approving transactions.
PONKE represents the type of opportunity that defines early-stage crypto investing, high potential returns coupled with equally high risk. The token’s future depends on factors largely outside your control: community enthusiasm, broader market sentiment, Solana’s continued development, and the unpredictable nature of meme coin cycles. What you can control is how carefully you execute your purchase, how securely you store your holdings, and how rationally you respond to the volatility that will inevitably come.
The infrastructure you’ve built through this process, your Solana wallet, your understanding of DEXs, your familiarity with transaction mechanics, serves you well beyond just buying PONKE. You’re now equipped to participate in the broader Solana ecosystem and explore other tokens as opportunities arise. Just remember that each new token requires the same careful verification and security practices you’ve learned here.
Approach PONKE and similar investments with clear eyes. Don’t invest more than you can afford to lose completely, because with meme coins that outcome is always possible. At the same time, don’t let excessive caution prevent you from participating in opportunities you’ve researched and understand. The crypto space rewards both boldness and discipline, knowing when to apply each is what separates successful long-term participants from those who flame out after a few unlucky trades.
Frequently Asked Questions
What wallet do I need to buy PONKE tokens?
You need a Solana-compatible wallet to buy PONKE. Phantom is the most popular choice, offering an intuitive browser extension. Alternatives include Solflare and Trust Wallet, both supporting Solana tokens. Set up your wallet, secure your recovery phrase, and you’re ready to purchase.
How do I buy PONKE on a decentralized exchange?
Connect your Solana wallet to a DEX like Raydium or Jupiter. Swap SOL or USDT for PONKE by entering the amount and verifying the contract address. Set slippage to 2-3%, confirm the transaction, and PONKE will appear in your wallet within seconds.
Can I buy PONKE with US dollars directly?
No, you cannot buy PONKE directly with fiat currency. You must first purchase SOL or USDT on a centralized exchange like Coinbase or Binance, withdraw it to your Solana wallet, then swap it for PONKE on a decentralized exchange.
Why is PONKE built on Solana instead of Ethereum?
PONKE uses Solana because it offers significantly faster transaction speeds and lower fees than Ethereum. Transaction costs are typically fractions of a cent on Solana, making PONKE accessible to traders without expensive gas fees associated with Ethereum-based tokens.
How do I verify I’m buying the real PONKE token?
Always verify PONKE’s official contract address from the project’s website or verified social media before purchasing. Paste this contract address into the DEX to ensure you’re buying authentic PONKE, not a counterfeit token created by scammers with similar names.
What are the risks of investing in PONKE?
PONKE is a meme coin with high volatility and speculative value driven by community sentiment rather than utility. Prices can swing 20-30% daily. Only invest what you can afford to lose completely, as meme coins carry substantial risk despite potential returns.